
Traffic Lane Separator Guide: Plan, Install & Choose the Right Setup

Traffic Lane Separator Usage & Selection Guide (with Images)
This guide is designed for car park managers, maintenance contractors, campus safety teams and event coordinators. We focus on the key product Heavy-Duty Modular Centre Module + Panel within our Traffic Lane Separator range. Learn how to plan, install and specify the right configuration.
What is the Traffic Lane Separator?
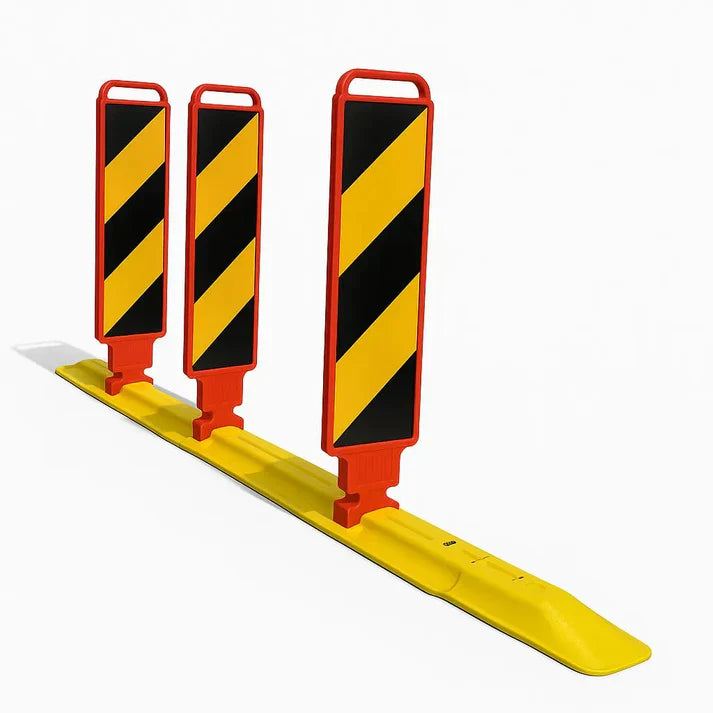
The Traffic Lane Separator is a modular lane-separation system designed for vehicle and pedestrian guidance in low-speed or temporary traffic zones. It uses a series of interlocking modules—typically a heavy-duty base “centre module” combined with a high-visibility panel and complemented by end or taper modules. These elements help form a continuous visual and physical boundary between lanes of traffic, pedestrian paths or mixed-use zones.

Why Use It? Key Benefits
- ✅ Clear traffic guidance: define vehicle lanes, merge paths and pedestrian separations to reduce confusion.
- ✅ High visibility: bold black-and-yellow contrast with reflective panels improves recognisability in low-light or adverse weather.
- ✅ Modular flexibility: easy to extend, shorten or re-route the system as site conditions change.
- ✅ Quick installation: pre-drilled bases are anchored into asphalt or concrete for fast deployment.
- ✅ Cost-effective maintenance: damaged sections can be replaced individually, avoiding full-length system replacement.
System Components
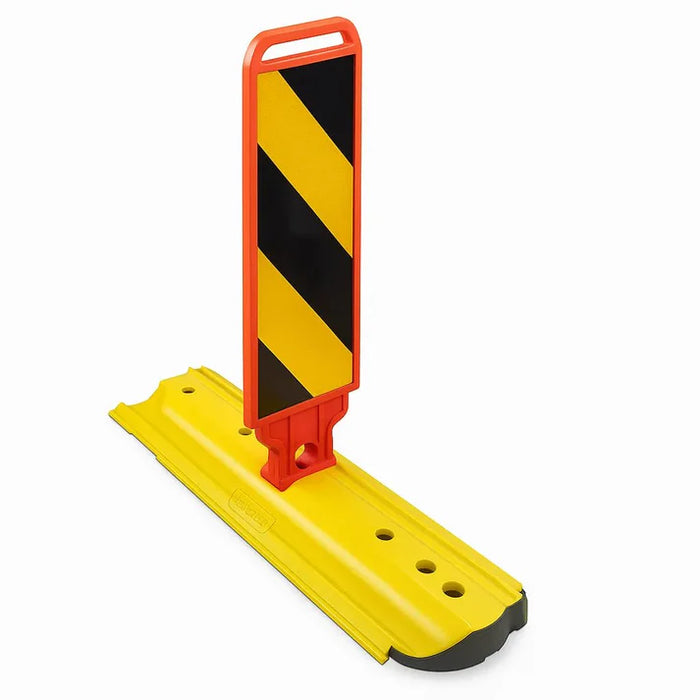
1) Core Product – Centre Module + Panel
The Centre Module with Panel is the backbone of the system. A robust rubber base anchors to the surface and supports a dual-sided high-visibility panel. Multiple modules are linked end-to-end to form continuous separation lines.
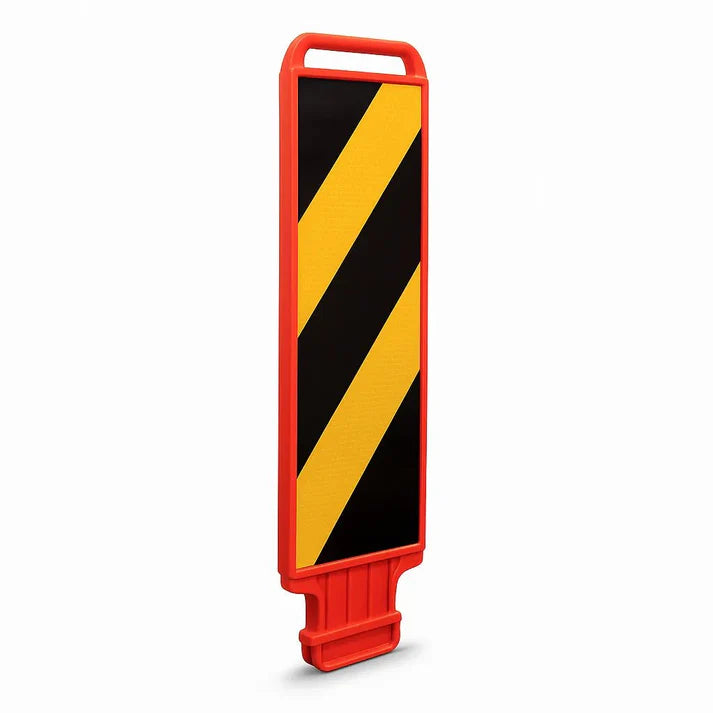
2) High-Visibility Hazard Panel (optional upgrade)
For enhanced visual performance in demanding conditions (night-time, backlit areas, high-traffic merges), the Hazard Panel module adds dual-sided reflective graphics to boost recognition.
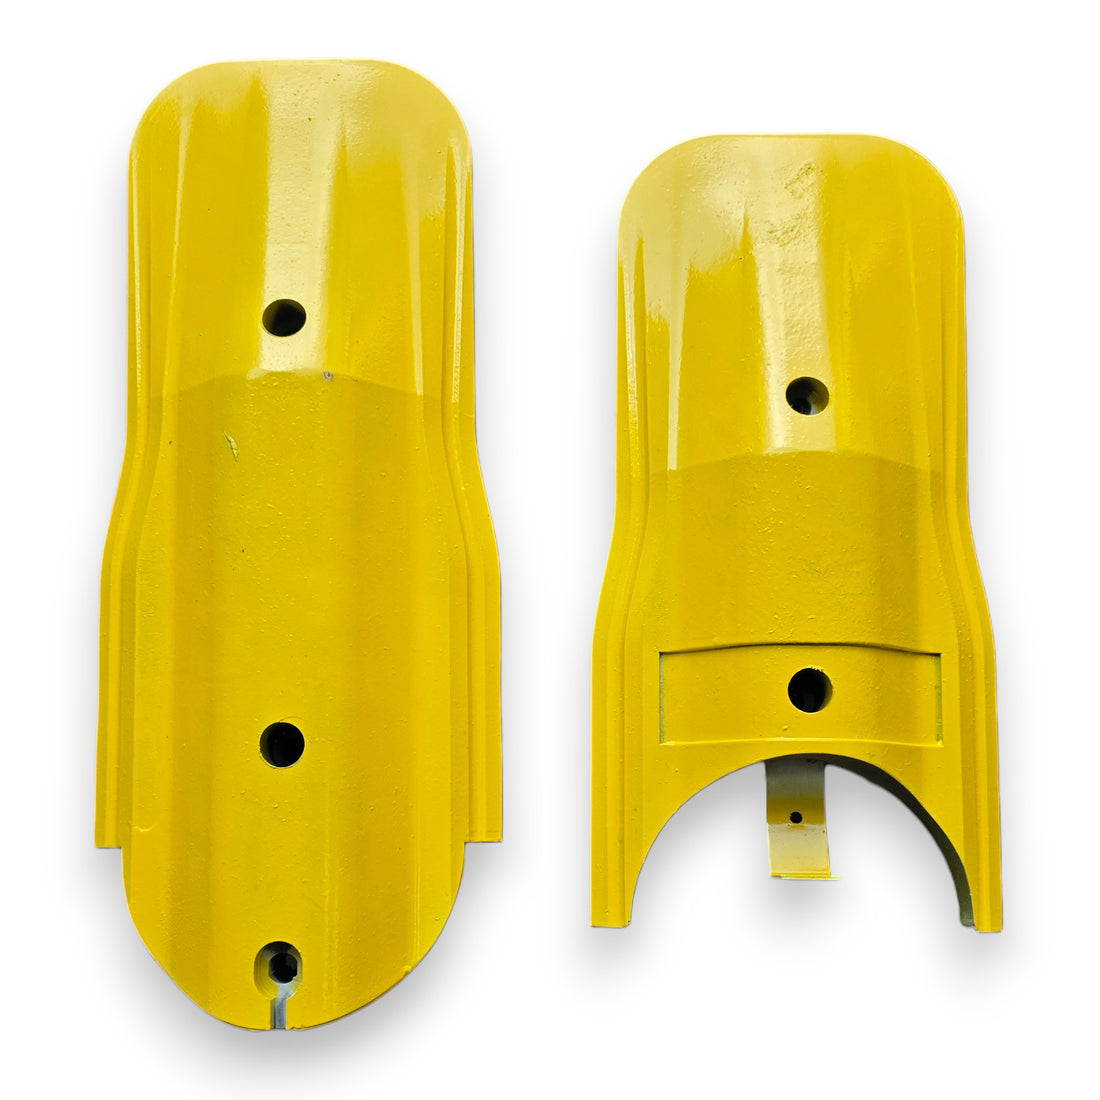
3) End Modules (Male / Female) – Tapered Termination
To finish the run neatly at start, end or break-points, use the End Modules (Male/Female). These offer a smooth taper and reduce risk of tyre strikes or pedestrian trips.
Typical Applications
- ✔️ Car parks: entry/exit funnels, one-way aisles, pedestrian crossing protection
- ✔️ Temporary construction zones & maintenance detours: rapid lane reconfiguration
- ✔️ Schools, hospitals, campuses: slow-speed traffic calming with clear separation
- ✔️ Event venues & logistics yards: queue management, loading zone segregation
- ✔️ Bike paths & micromobility lanes: creating protected lanes adjacent to vehicular traffic
Installation Steps (Quick Guide)
- Lay out the path: mark start/end, turns, and merge points.
- Set module positions: align centre modules with appropriate spacing and orientation.
- Mark anchor holes: use the pre-drilled base as a template.
- Drill & anchor: drill into asphalt/concrete and fix modules using suitable bolts or anchors.
- Connect & finish: install centre modules end-to-end, insert hazard panels as needed, and attach end modules where required.
- Final check: inspect alignment, tighten bolts, verify panel orientation and add signage if necessary.
Pro tip: Use a rubber mallet to fully seat the panel into the module without marking the face.
Planning & Selection Tips
- Length & layout: measure required lane length, number of turns/merges, and determine module count.
- Visibility needs: for low light/backlit or wet conditions, specify hazard panels or reflective elements.
- Mixed traffic: if pedestrians or cyclists are present, ensure adequate separation and reduce abrupt curves.
- Temporary vs. permanent: temporary setups may prioritise speed of deployment; permanent installations may include heavier anchors and signage.
- Maintenance plan: label module segments and keep replacement stock to minimise downtime.
| Component | Purpose | Link |
|---|---|---|
| Centre Module + Panel | Core lane separator unit with high-visibility panel | View product |
| Hazard Panel (Dual-Sided) | Enhanced visibility panel for demanding conditions | View product |
| End Modules (Male/Female) | Tapered termination units for start/finish zones | View product |
Unsure how to configure for your site? Contact us — we can help based on your layout and traffic flow sketch.